Connecting a USB-C monitor to a USB-A port can seem daunting, but with the right tools and guidance, it becomes simple. Whether you want to expand your workspace or connect a device that only supports USB-A, knowing how to manage this setup is invaluable. This blog will guide you through understanding USB-C and USB-A ports, selecting the necessary adapters and cables, and providing a detailed connection process. Additionally, we will troubleshoot common issues and explore alternative solutions to ensure an optimal setup.
Understanding the differences between USB-C and USB-A ports is essential for connecting a USB-C monitor to a USB-A port. USB-C, the newer standard, features a smaller, reversible connector that supports faster data transfer rates and more power delivery. It's widely used in modern devices, including smartphones, tablets, and laptops.
Conversely, USB-A, the traditional standard, has a larger, non-reversible connector found on older devices and peripherals like keyboards, mice, and thumb drives. It supports slower data transfer rates compared to USB-C but remains prevalent due to its extensive compatibility with aging hardware.
Connecting a USB-C monitor to a USB-A port primarily requires understanding their compatibility and the necessary adapters to facilitate the connection. Let's move on to discussing the specific adapters and cables needed to bridge this gap.
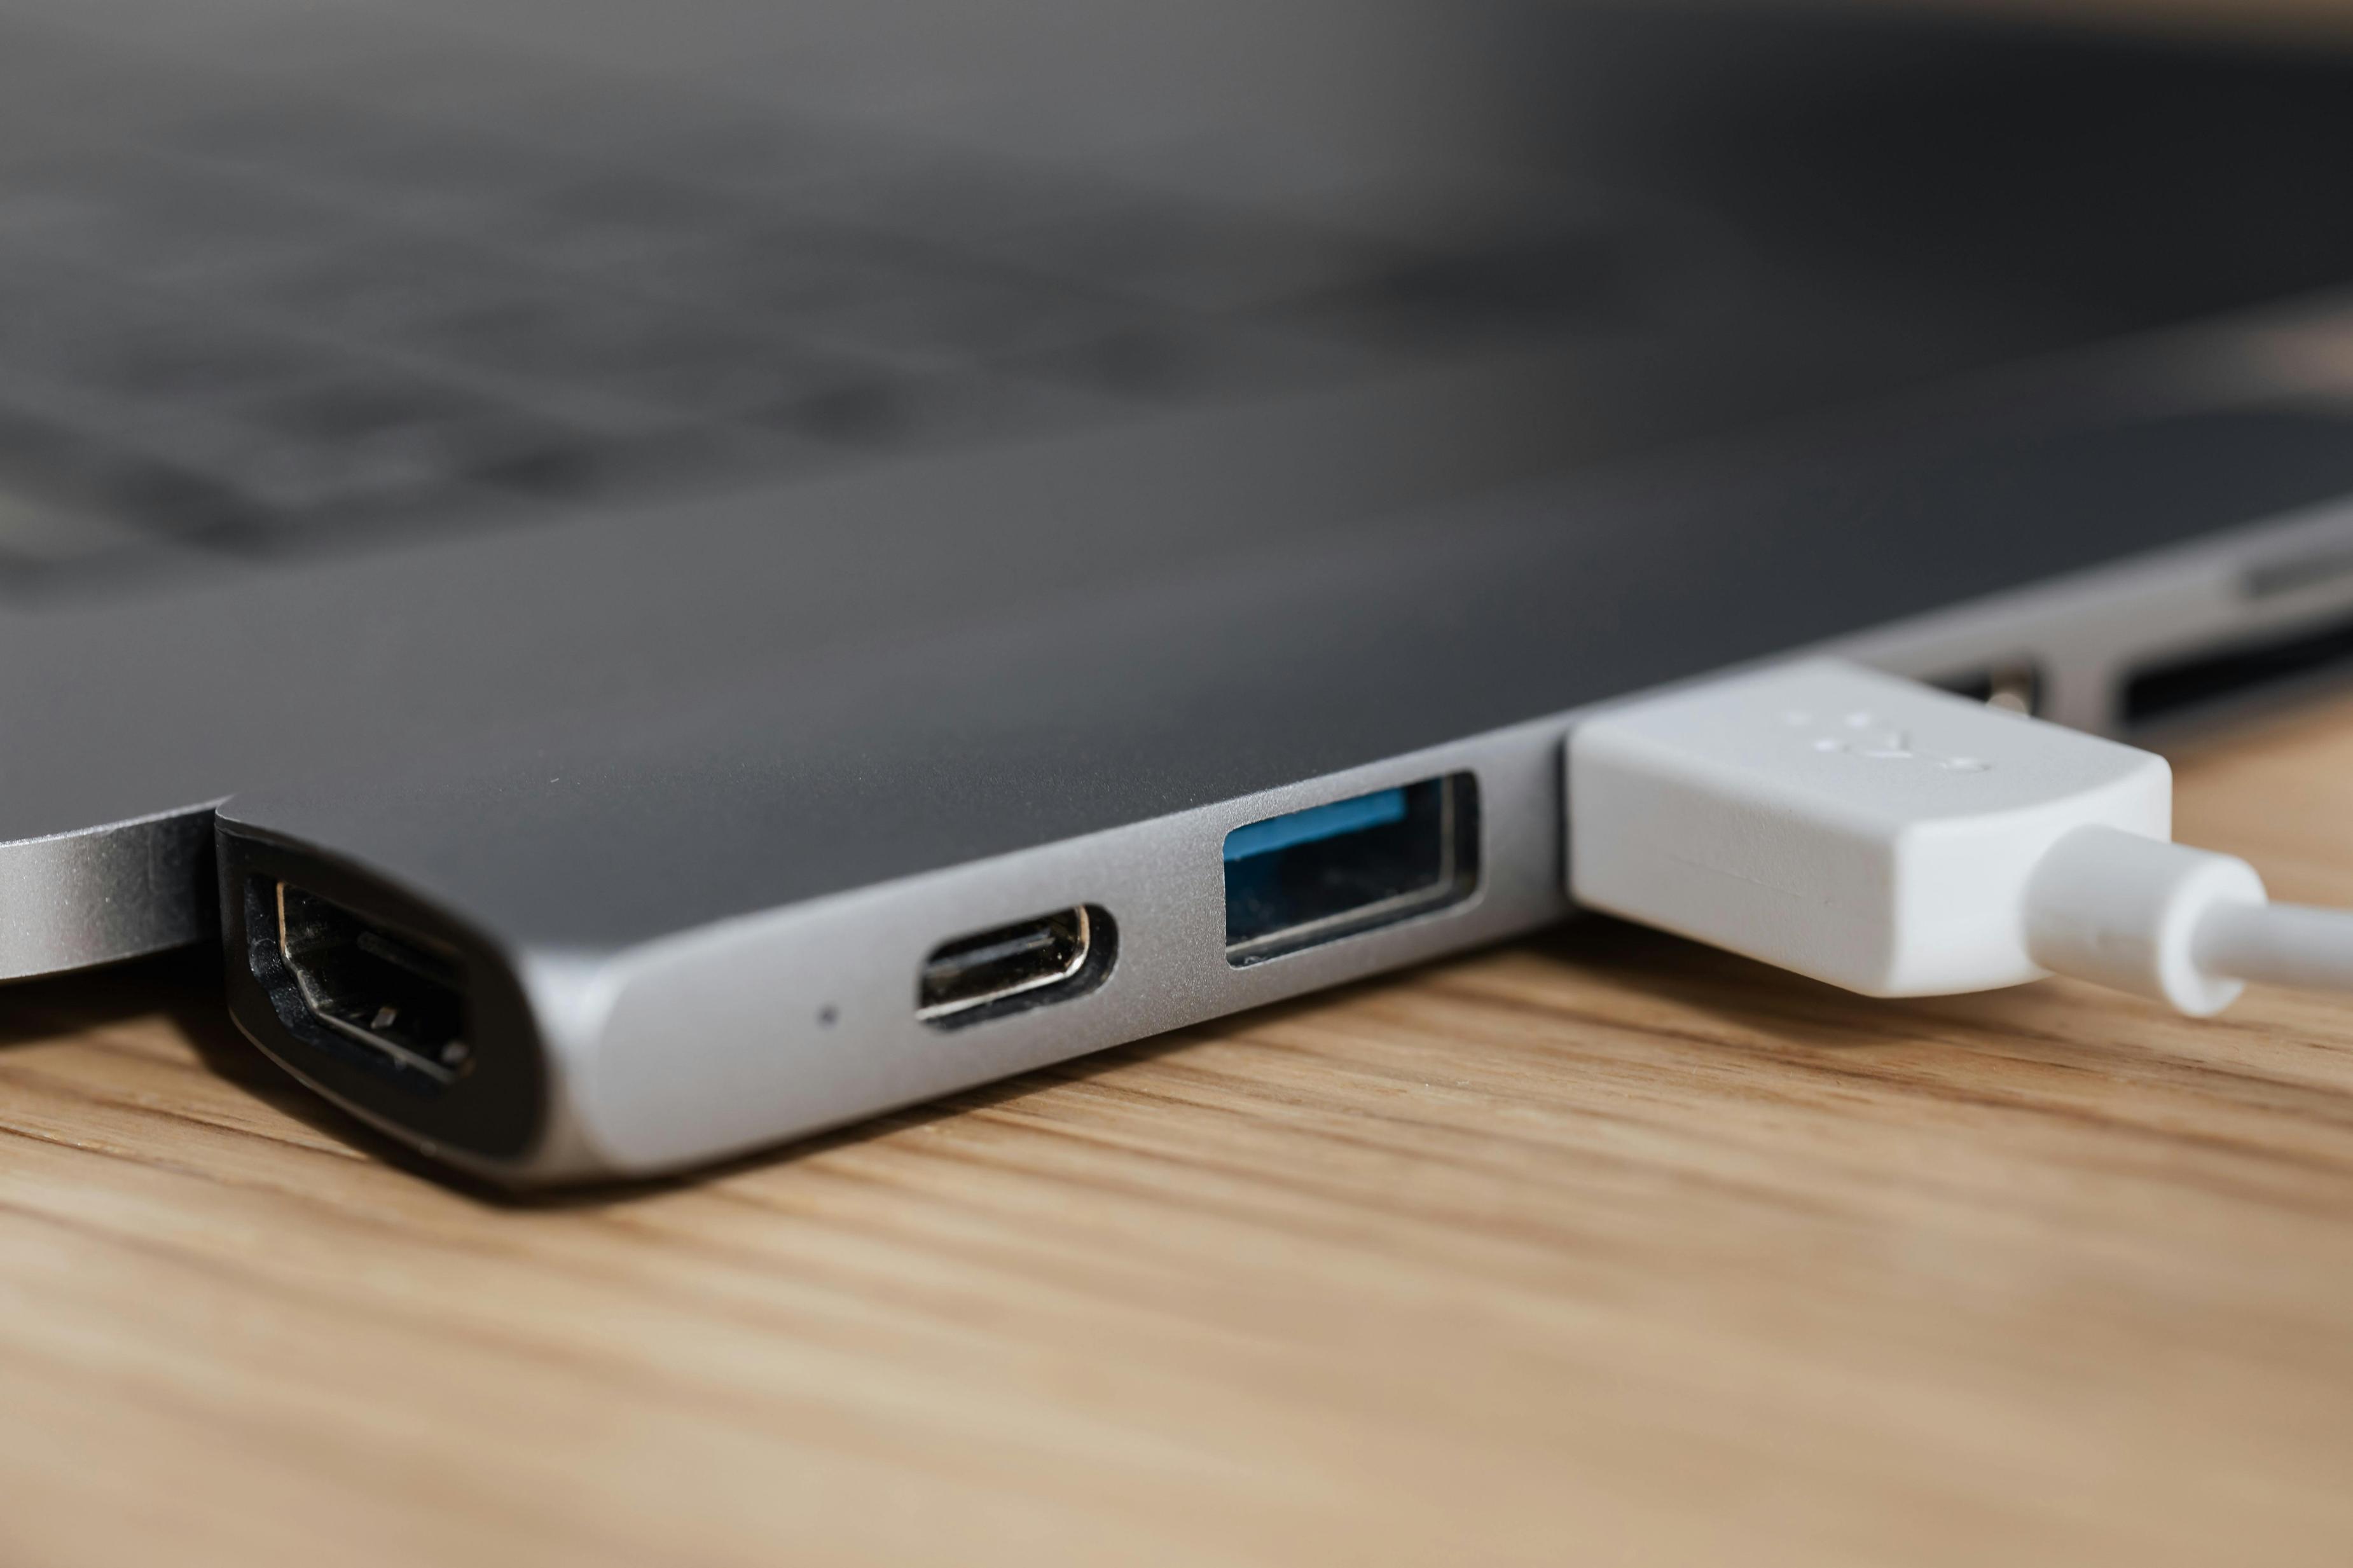
To connect a USB-C monitor to a USB-A port, you need specific adapters and cables:
USB-C to USB-A Adapter: This adapter allows you to connect a USB-C device to a USB-A port. It typically has a USB-C female port on one end and a USB-A male connector on the other.
USB-C Cable: Ensure you have a good quality USB-C cable that supports video transmission (e.g., USB-C to USB-C or USB-C to HDMI depending on your monitor).
With these adapters and cables ready, you're now prepared to move on to the connection process.
Connecting your USB-C monitor to a USB-A port involves a few straightforward steps. Here's how to do it:
Find the USB-C port on your monitor. It's smaller, oval-shaped, and labeled as 'USB-C'.
Connect the Adapter:
Insert the USB-C female end of the adapter into the corresponding port on your monitor.
Attach the USB-C Cable:
The other end should be attached to the adapter connected to your computer.
Configure Display Settings:
If the monitor isn't displayed, go to your computer’s display settings to manually detect and configure it. On Windows, right-click on the desktop and select 'Display settings'. On macOS, navigate to 'System Preferences' > 'Displays'.
Adjust Resolution and Orientation:
Following these steps should seamlessly connect your USB-C monitor to a USB-A port. However, should issues arise, the next section will guide you through troubleshooting common problems.
Even with the correct setup, you might encounter a few common issues. Here’s how to address them:
Solution: Ensure the adapter is properly connected to both the USB-A port on your computer and the USB-C cable. Verify that the monitor is turned on and properly connected. Update your computer’s drivers, especially the graphics driver.
Poor Display Quality:
Solution: Check if you are using a high-quality USB-C cable. Low-quality cables may not support high-resolution displays. Adjust the display resolution settings to match the monitor’s native resolution.
No Signal:
Having successfully tackled any problems, it's time to optimize your setup for the best performance and experience.
To ensure your setup works perfectly, consider optimizing your workspace:
Use cable organizers to keep your workspace tidy. Well-managed cables reduce clutter and potential connection issues.
Monitor Positioning:
Place your monitor at eye level to avoid neck strain. Use a monitor stand if necessary.
Power Supply:
These small enhancements can significantly improve your overall experience. Now, let’s explore some alternative solutions for connecting USB-A ports to USB-C monitors.
If the above method doesn’t suit your setup, consider these alternatives:
A docking station with multiple ports (USB-A, USB-C, HDMI) can simplify connections. It integrates various peripherals into a single device, enhancing convenience and productivity.
USB-C to HDMI Adapter:
If your monitor has an HDMI port, you can use a USB-C to HDMI adapter. This simplifies the connection, though it won’t carry data—only video and audio signals.
Dedicated USB-C Hub:
These alternatives provide more flexibility and might better fit specific scenarios.
Connecting a USB-C monitor to a USB-A port is straightforward with the right tools and knowledge. By understanding the differences between USB-C and USB-A, selecting the appropriate adapters and cables, and following step-by-step instructions, you can easily establish the connection. Troubleshooting common issues and optimizing your setup ensures the best experience.
Ensure the adapter and cables are correctly connected. Check if the monitor is powered on. Update your computer’s drivers, especially the graphics driver. If the issue persists, try connecting the monitor to another device to rule out hardware problems.
Yes, if your monitor has an HDMI port, a USB-C to HDMI adapter can be used. It simplifies the connection, but it will only transmit video and audio signals, not data.
Using a high-quality adapter should not affect display quality. However, low-quality cables and adapters may result in poor resolution and performance. Ensure all components used support high-resolution displays for the best experience.